Setup & Quirq State
Set up your workspace and agent, manage secrets and connectors, and apply changes through Server controls.
Setup separates initial setup from ongoing management. Start with Workspace and Intelligence layer, then use Connectors, Secrets, Commands, and Server as needed.
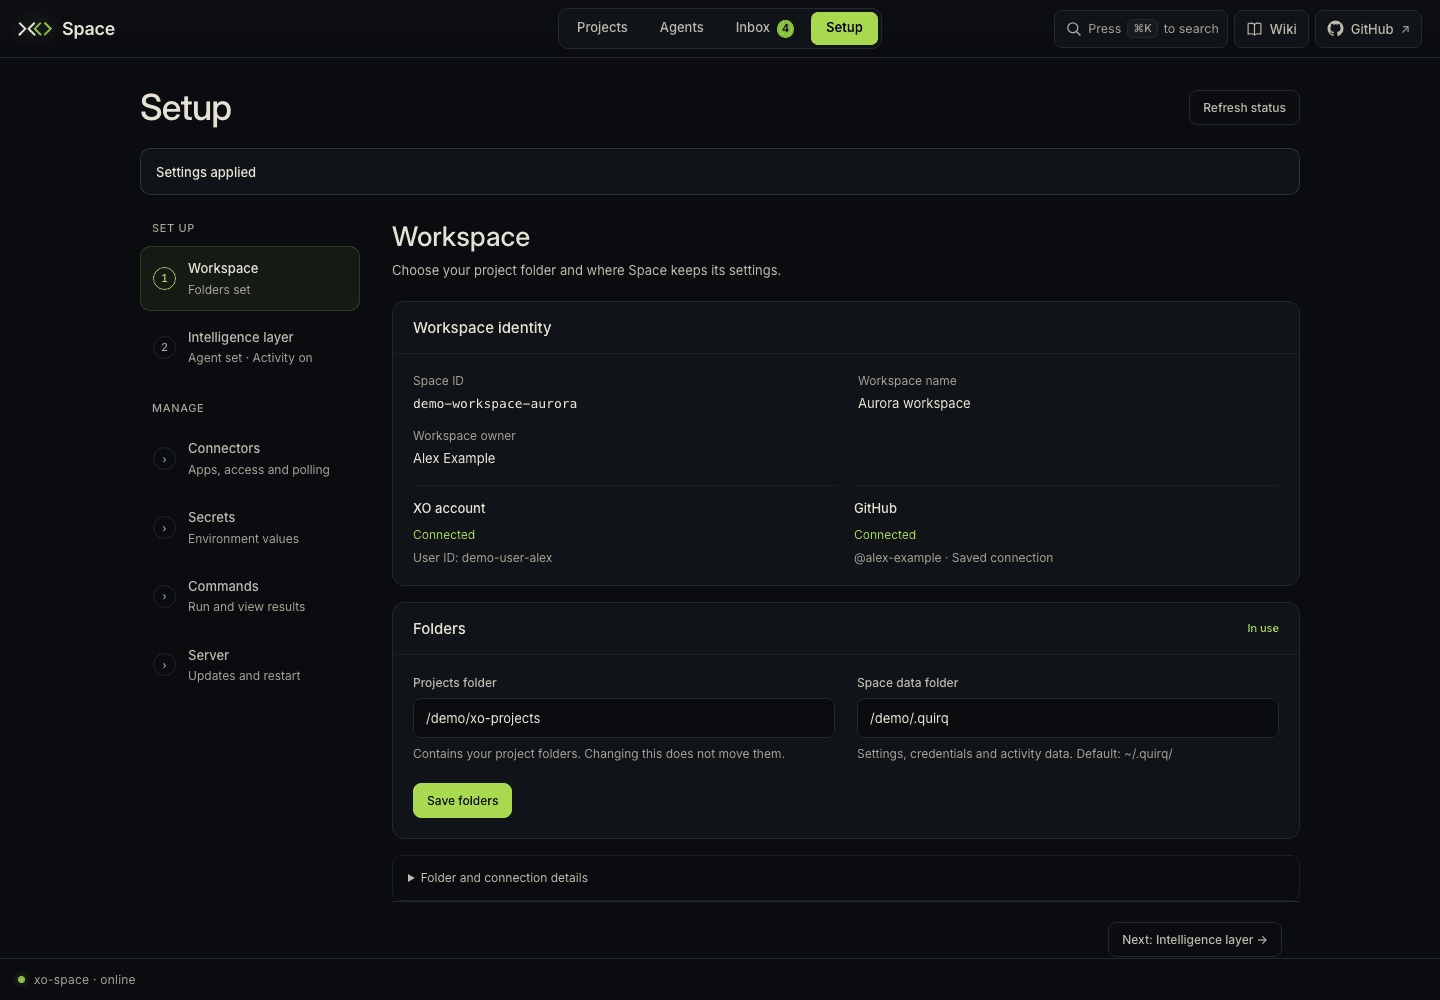
Open the fourth primary tab, Setup, press 4, or use
/space/#/setup/workspace. Refresh status checks the installation again. The
banner distinguishes unsaved edits from saved changes that require a restart.
| Section | What you can do | Route |
|---|---|---|
| Workspace | Check Space and account identity; choose folders | #/setup/workspace |
| Intelligence layer | Choose the agent for new chats and configure activity collection | #/setup/intelligence |
| Connectors | Connect workspace tools and account apps | #/setup/connectors |
| Secrets | Add, replace, or remove environment values | #/setup/secrets |
| Commands | Save, run, and schedule commands; read their results | #/setup/commands |
| Server | Restart, check updates, and inspect technical details | #/setup/server |
Use the sidebar or the command palette
to find a section. If the Search setup… page filter is visible, it searches
setting names, not typed values or saved credentials. Older #/secrets and
#/connectors links still reach their corresponding sections.
Check the running installation
Workspace identity reports the Space ID, available workspace name and owner,
and verified XO and GitHub connection status. A configured credential is not
enough for a Connected label: Space checks the identity with the service.
GitHub status also identifies whether access comes from GITHUB_PAT or a saved
connection.
Expand Folder and connection details for the browser address, execution and project paths, and Space data path. These rows distinguish missing, unreadable, read-only, and writable locations.
Set storage roots
In Workspace → Folders:
- Set Projects folder, the folder whose direct child directories are projects. Changing it selects another workspace; it does not move projects.
- Set Space data folder, which holds machine-local settings, credentials,
and activity. The runtime fallback is
~/.quirq/; the local installer normally selects<workspace>/.quirq/. Use the path shown for your installation. - Click Save folders. When a saved path differs from the running one, the form shows Currently using and Pending restart.
- Apply the displayed instructions. Restart to use saved folders; for an installer-managed container, run the displayed installer command to update its mounts. Copy installer command copies that installation's command.
- Refresh status after applying the changes to confirm the folders in use.
In installer-managed environments, the installer can copy current state when the new state directory is empty. Use the displayed command because host paths and mount requirements vary. Add or remove individual projects through Projects → Manage.
Configure the agent and watcher
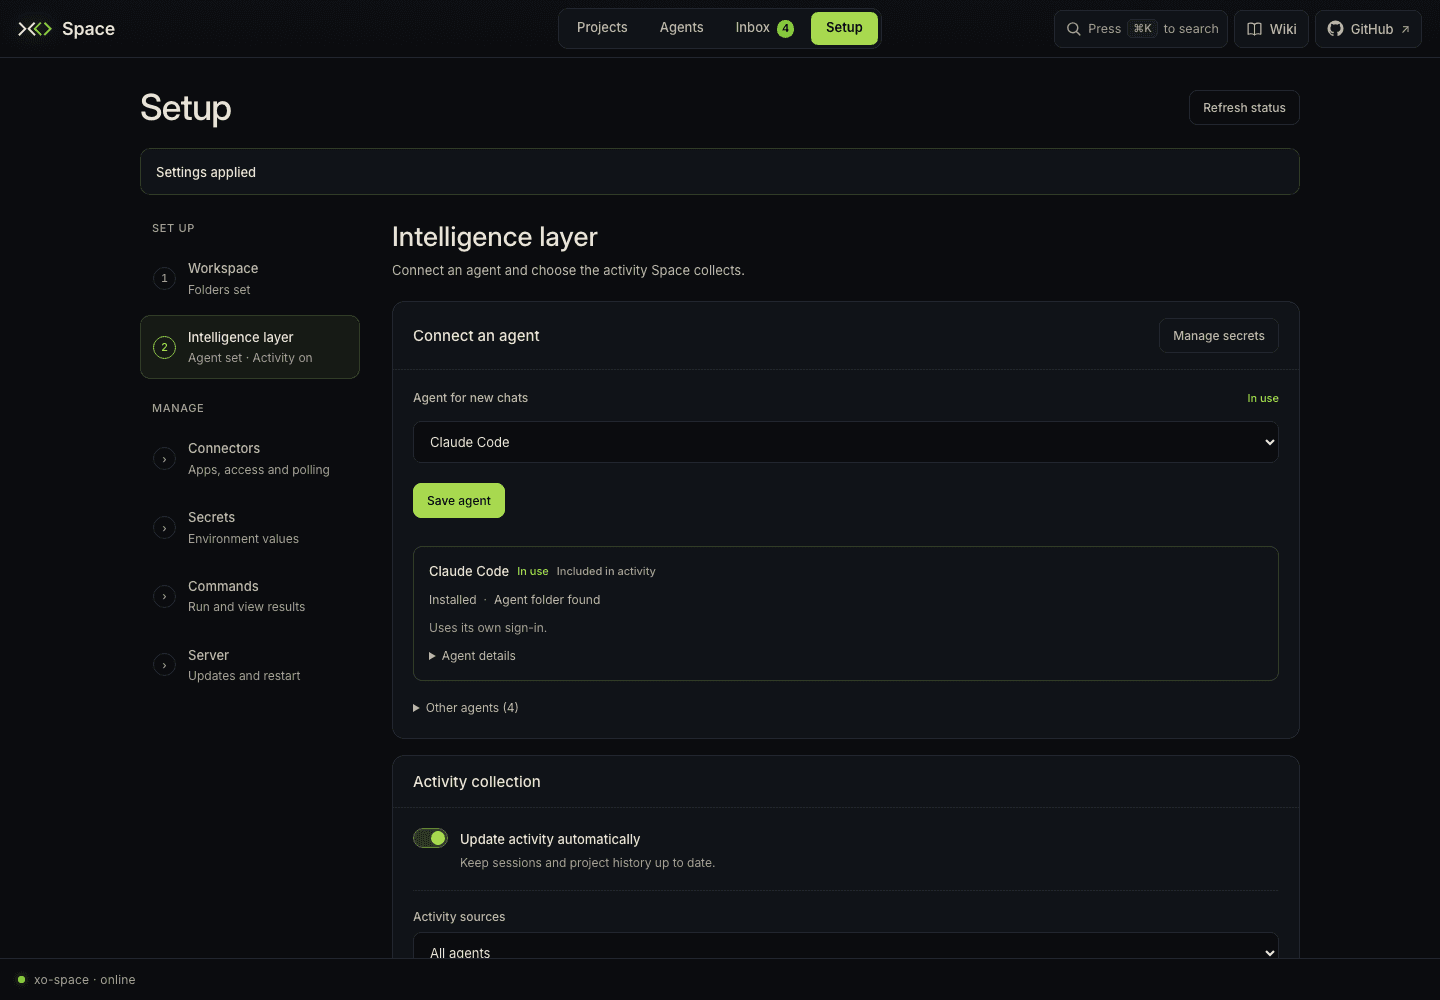
In Intelligence layer, choose Agent for new chats and click Save agent. The choices come from installed agent manifests. In use, Selected, and Restart to apply distinguish the running agent from your draft or saved selection.
Activity collection has its own form:
| Control | What it changes |
|---|---|
| Update activity automatically | Runs the watcher that keeps supported sessions and project history up to date. Scheduled commands also need it enabled. |
| Activity sources | All agents or Chat agent only; this is independent of which agent handles new chats. |
| Advanced → Check every | Watcher interval from 0.25 to 60 seconds; the default is one second. |
Click Save activity settings. If either form requires a restart, follow the banner to Server and use Apply & restart, or the terminal instructions for a foreground process.
The watcher reads runtime activity. Agents record shared project todos through the todo API; changing watcher settings does not import a runtime's private todo list into Space.
Inspect native sources
The selected agent appears first; expand Other agents to inspect the rest. Each card reports CLI installation, whether the agent folder exists, and whether it is Included in activity. Agent details shows host/server paths and discovered session-file counts. A discovered file count does not establish that the agent is signed in or that its watcher is healthy.
Use a recommended credential button to open its key in Secrets. Some agents use their own sign-in. When supported, a missing CLI can be installed by Setup when that agent is selected and the server restarts. Watcher discovery and Agents telemetry coverage remain separate capabilities.
Manage credentials
Open Secrets:
- Click Add secret, or follow a recommended key from an agent card.
- Enter an uppercase Key and its Value, then click Save secret.
- Restart through Server when the banner requests it.
Show / Hide reveals only the value being typed. Saved values use fixed masks and configured status; the UI never fetches their plaintext. Replace starts a blank replacement form. Remove deletes the saved variable after confirmation. Credentials are stored in machine-local Space data, outside project folders.
For native service sign-in and account apps, use Connectors.
Check usage reporting
Intelligence layer reports whether usage reporting is off, on, pending, or blocked. An accepted credential enables daily token, cost, and session/tool summaries. Pending means the key has no conclusive probe result; blocked means the key was rejected. These describe current status, not whether an earlier report was ever sent.
What leaves your machine summarizes the policy. Normal metric fields exclude prompt and file contents, but reporting error notes can include source filenames and raw error details. See the collection and reporting guide for the full boundaries.
Restart the server
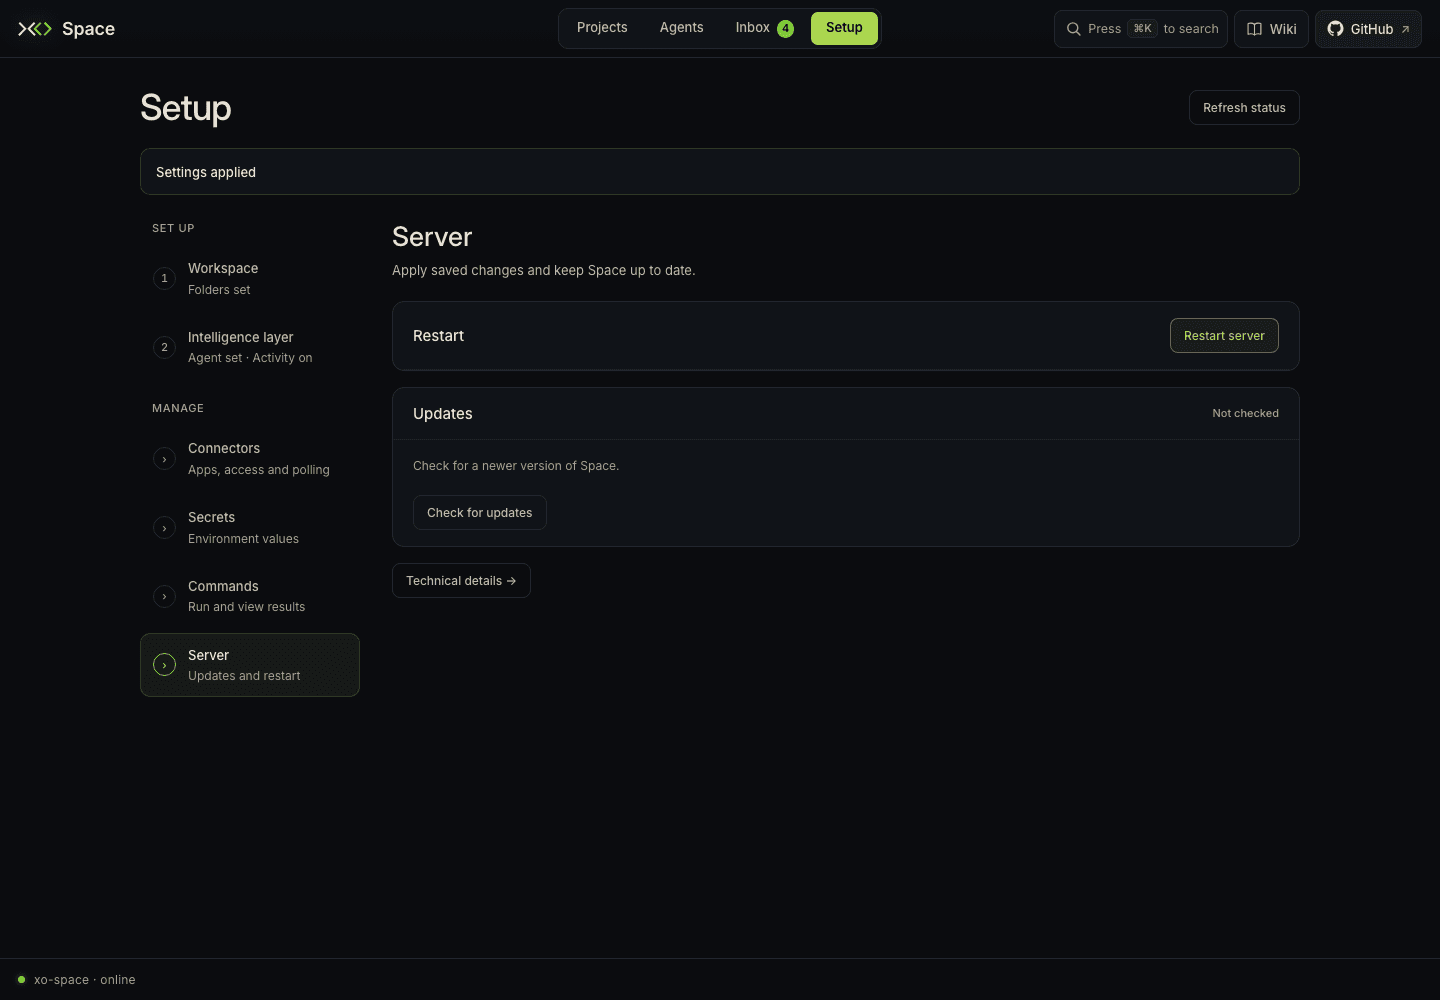
Open Server → Restart and click Restart server or Apply & restart. Confirm and leave the page open. Space shows Restarting… and reloads when a replacement server responds; a response from the old instance does not count as completion.
| Installation mode | What happens |
|---|---|
| Managed | A container supervisor restarts the process after it exits. |
| Native | The native process manager checks its PID file and restarts that installation. |
| Foreground | A manually launched process or development reload mode requires Ctrl-C and re-run in its original terminal. The UI restart button is disabled. |
If Space cannot reconnect, use Refresh status and check its server log or original terminal. A saved container folder change may require the installer command before a restart can apply it.
Restart, update, and command writes support same-origin requests through a local HTTPS proxy as well as direct local access. The server connection must come from loopback, and browser origin checks still apply. If the request is refused, use the server's terminal rather than changing the browser URL alone.
Update xo-space
In Server → Updates, click Check for updates. The result compares the checkout with its configured Git remote and shows the branch, installed/latest commit, and any local changes or divergence that prevent an update.
Update now appears when the checkout can fast-forward. Updating changes code on disk; use Restart server to run it, or follow the foreground terminal hint. If dependency requirements changed, follow the result's installation guidance.
Self-update fast-forwards a clean Git checkout. It does not resolve a divergent branch or discard local edits. Save or reconcile your local work before updating.
Run saved commands
Open Commands to add a manual command or an interval schedule. Copy agent prompt supplies instructions for an agent to manage commands through the Space API. Nothing is seeded or run when you open the page.
Follow Commands & schedules for command fields, start times, execution, and results.
Read results and history
Each saved command's Inbox button opens its newest 20 runs and local log path. Scheduled commands also appear under Inbox → Jobs, where Results opens the same drawer. See command results.
Open Quirq state
Choose Server → Technical details to open /space/#/setup/server/details.
The older #/quirq link remains an alias. This view maps installation state,
watcher activity, project records, runtime configuration, and their availability.
Use Refresh data for another snapshot or ← Setup to return to Server.
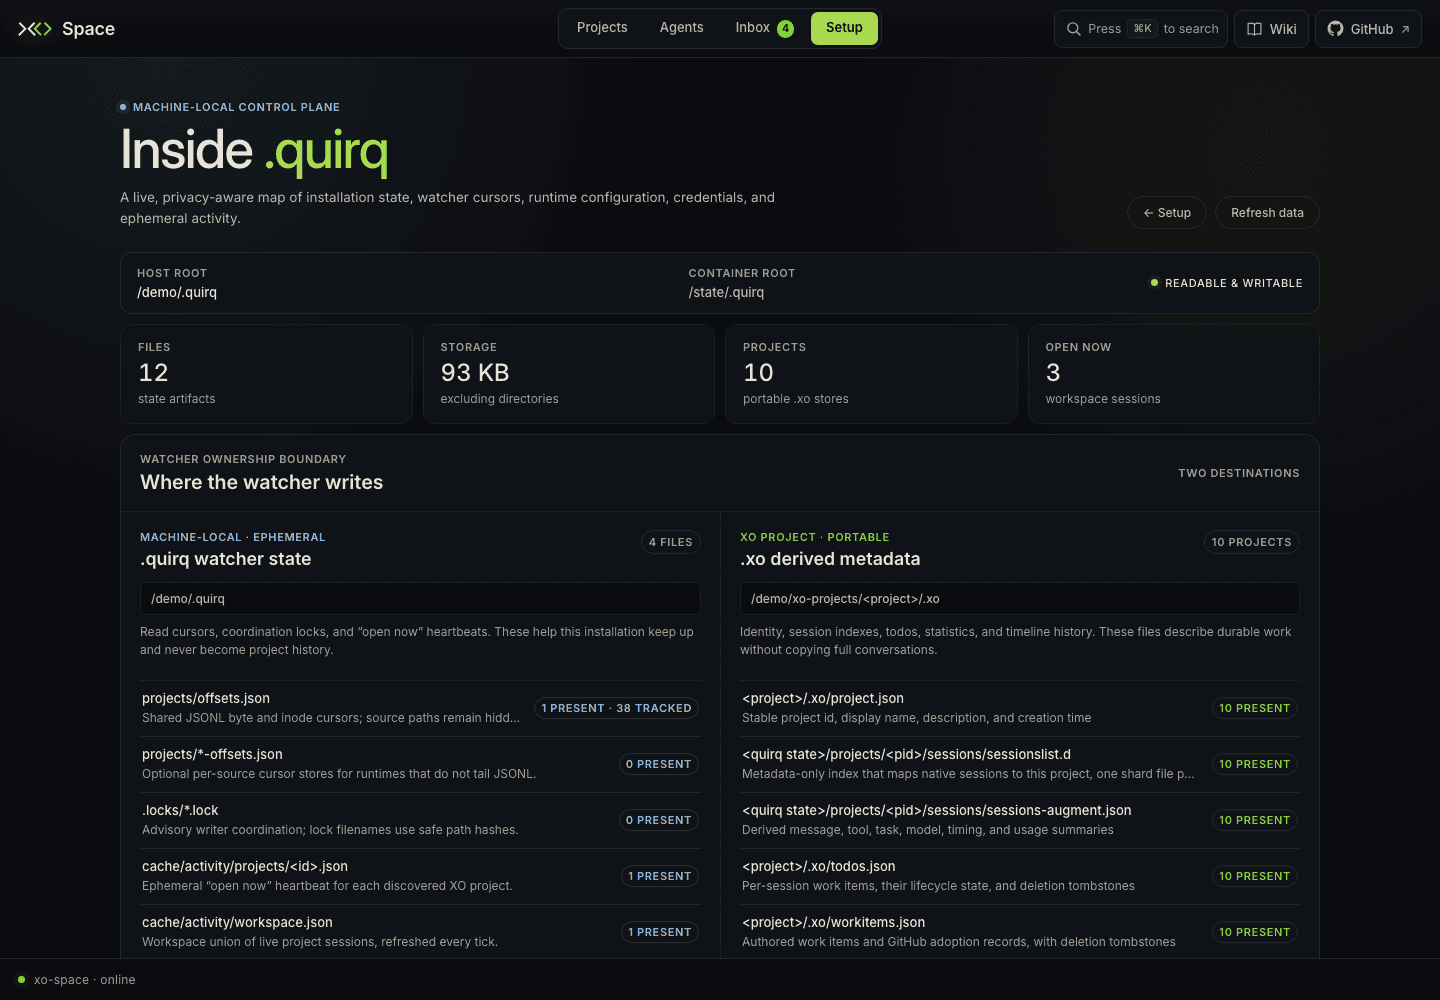
Portable project metadata lives in project .xo/ folders. Machine-local
materialized records and operational state live under the configured Space data
folder. Follow each row's effective location and the
storage map for the current layout.