OpenClaw Quickstart
Deploy your OpenClaw AI agent on XO in under 10 minutes.
OpenClaw is an AI agent gateway you deploy on XO. Connect it to Telegram, give it your Anthropic API key, and your agent is live — no infrastructure to manage.
Setup Walkthrough
What You'll Need
- An XO account
- At least one model provider — an Anthropic API key, an OpenAI API key, or both
- At least one channel — a Telegram bot token (from @BotFather), a WhatsApp QR scan, or a Slack app token + bot token
Any combination of providers and channels works.
Deploy OpenClaw
Create a New Project
Go to beta.xo.builders.
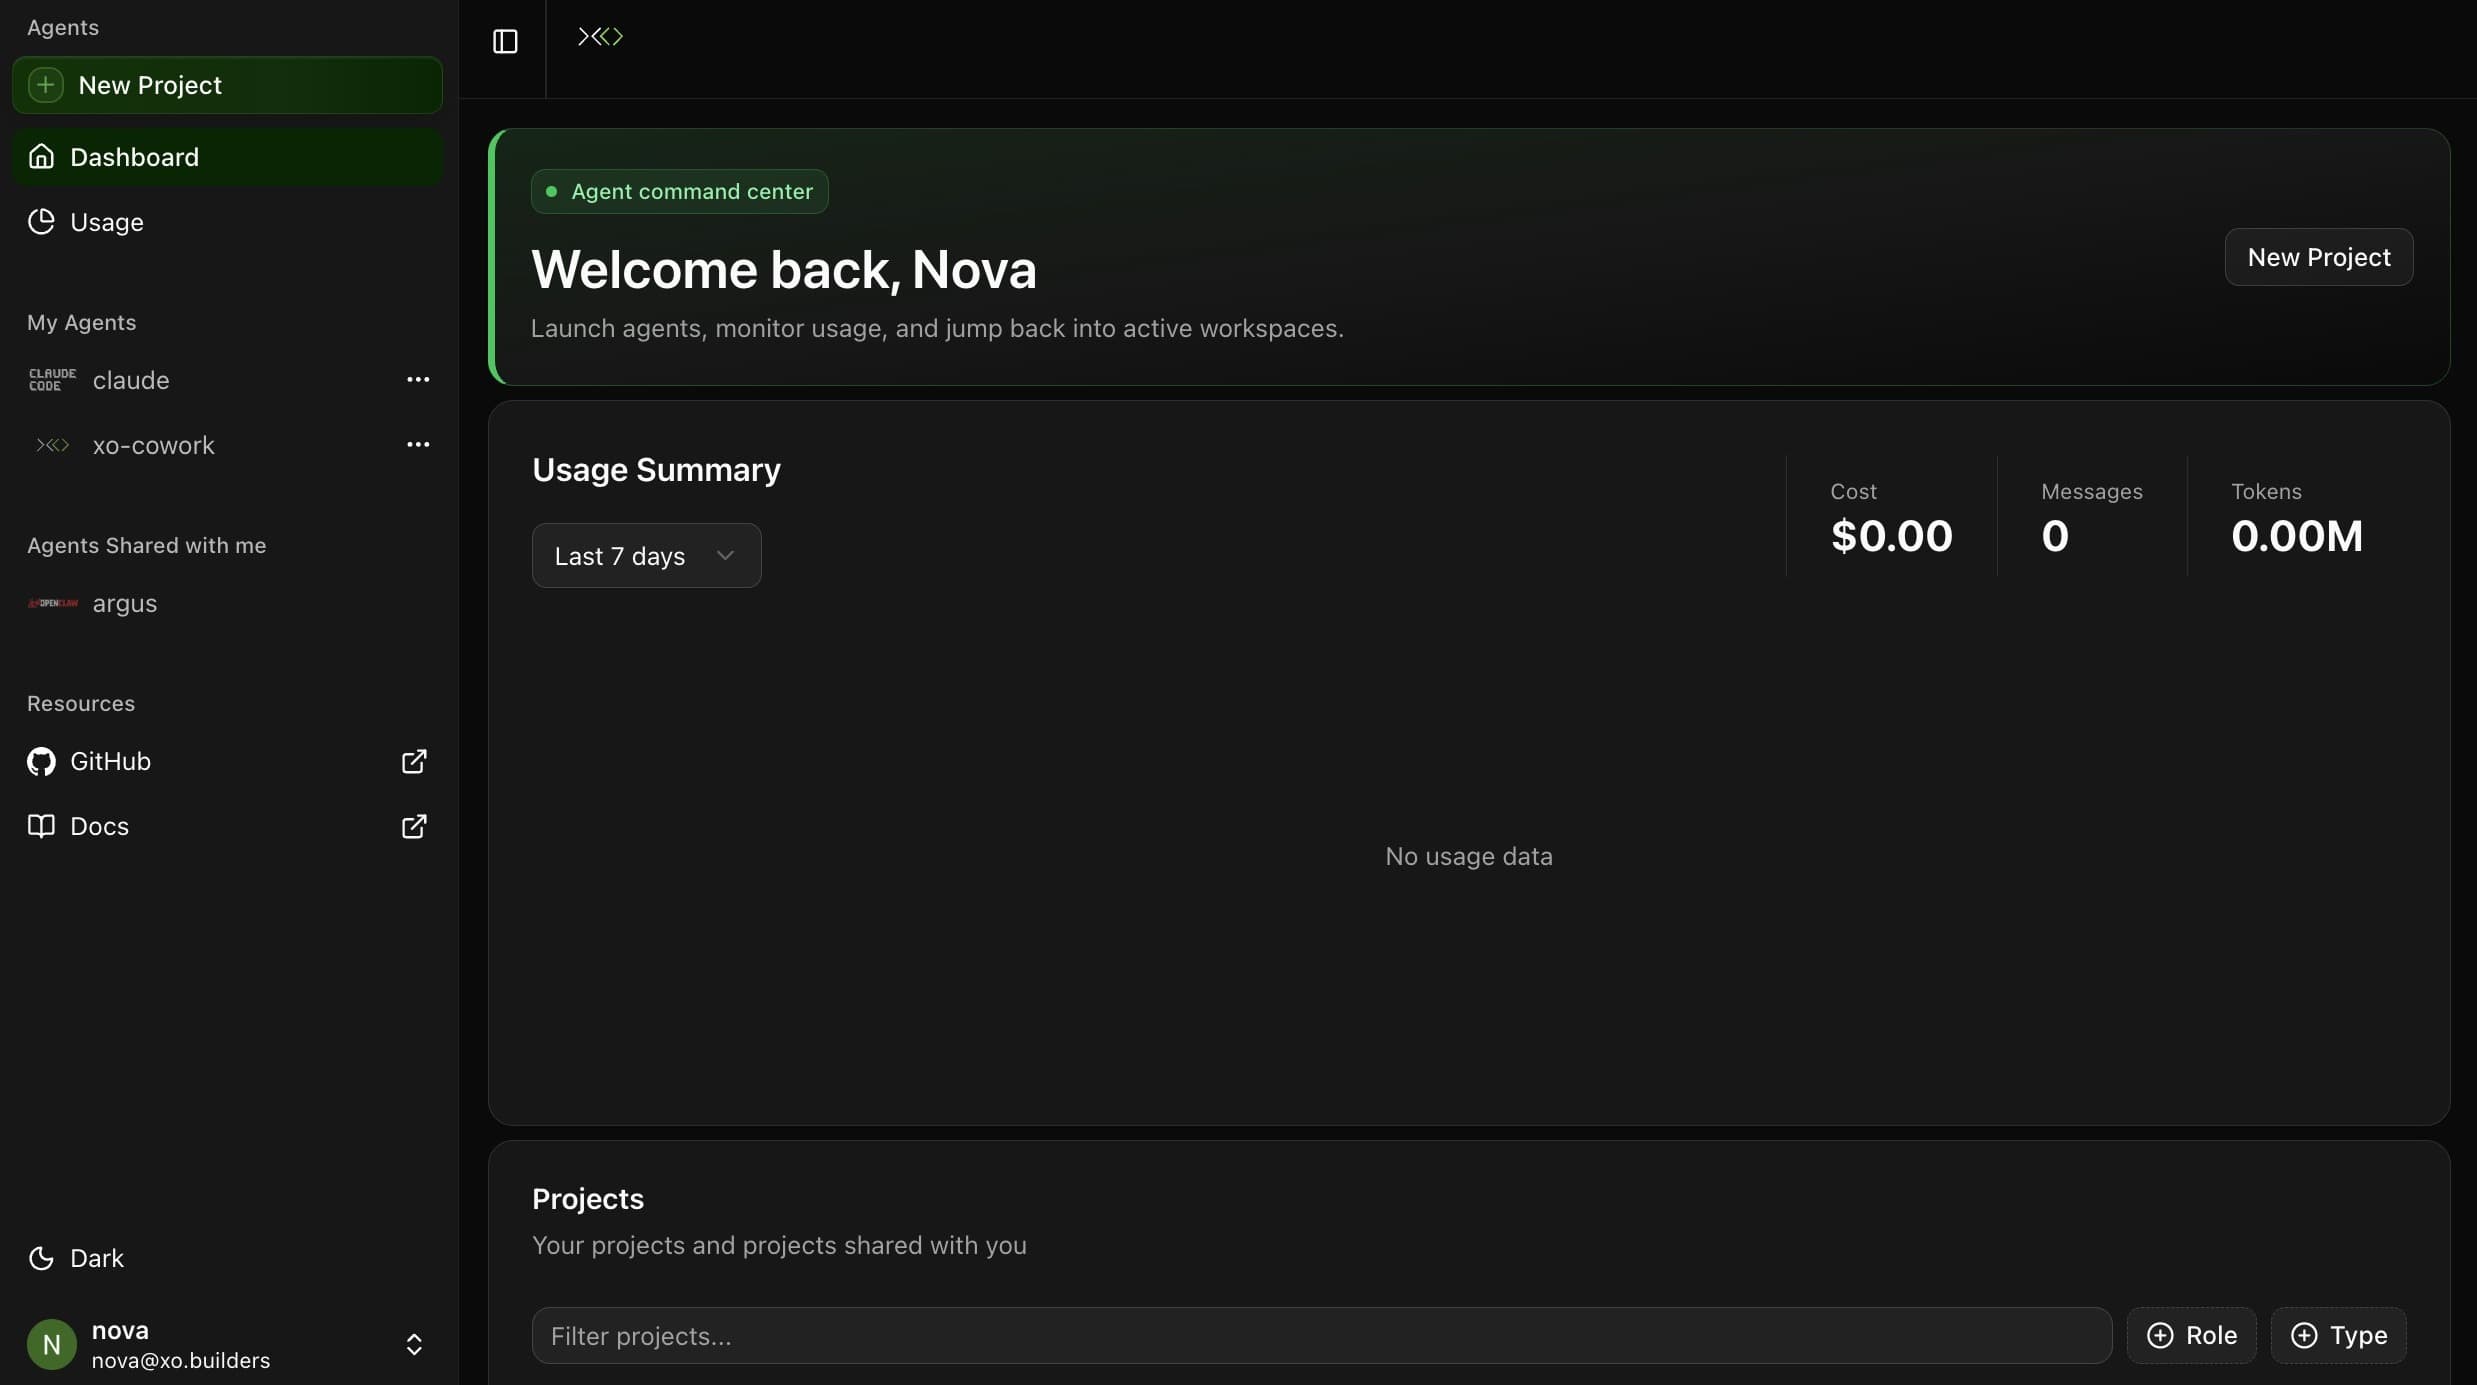
Click New Project in the left sidebar.
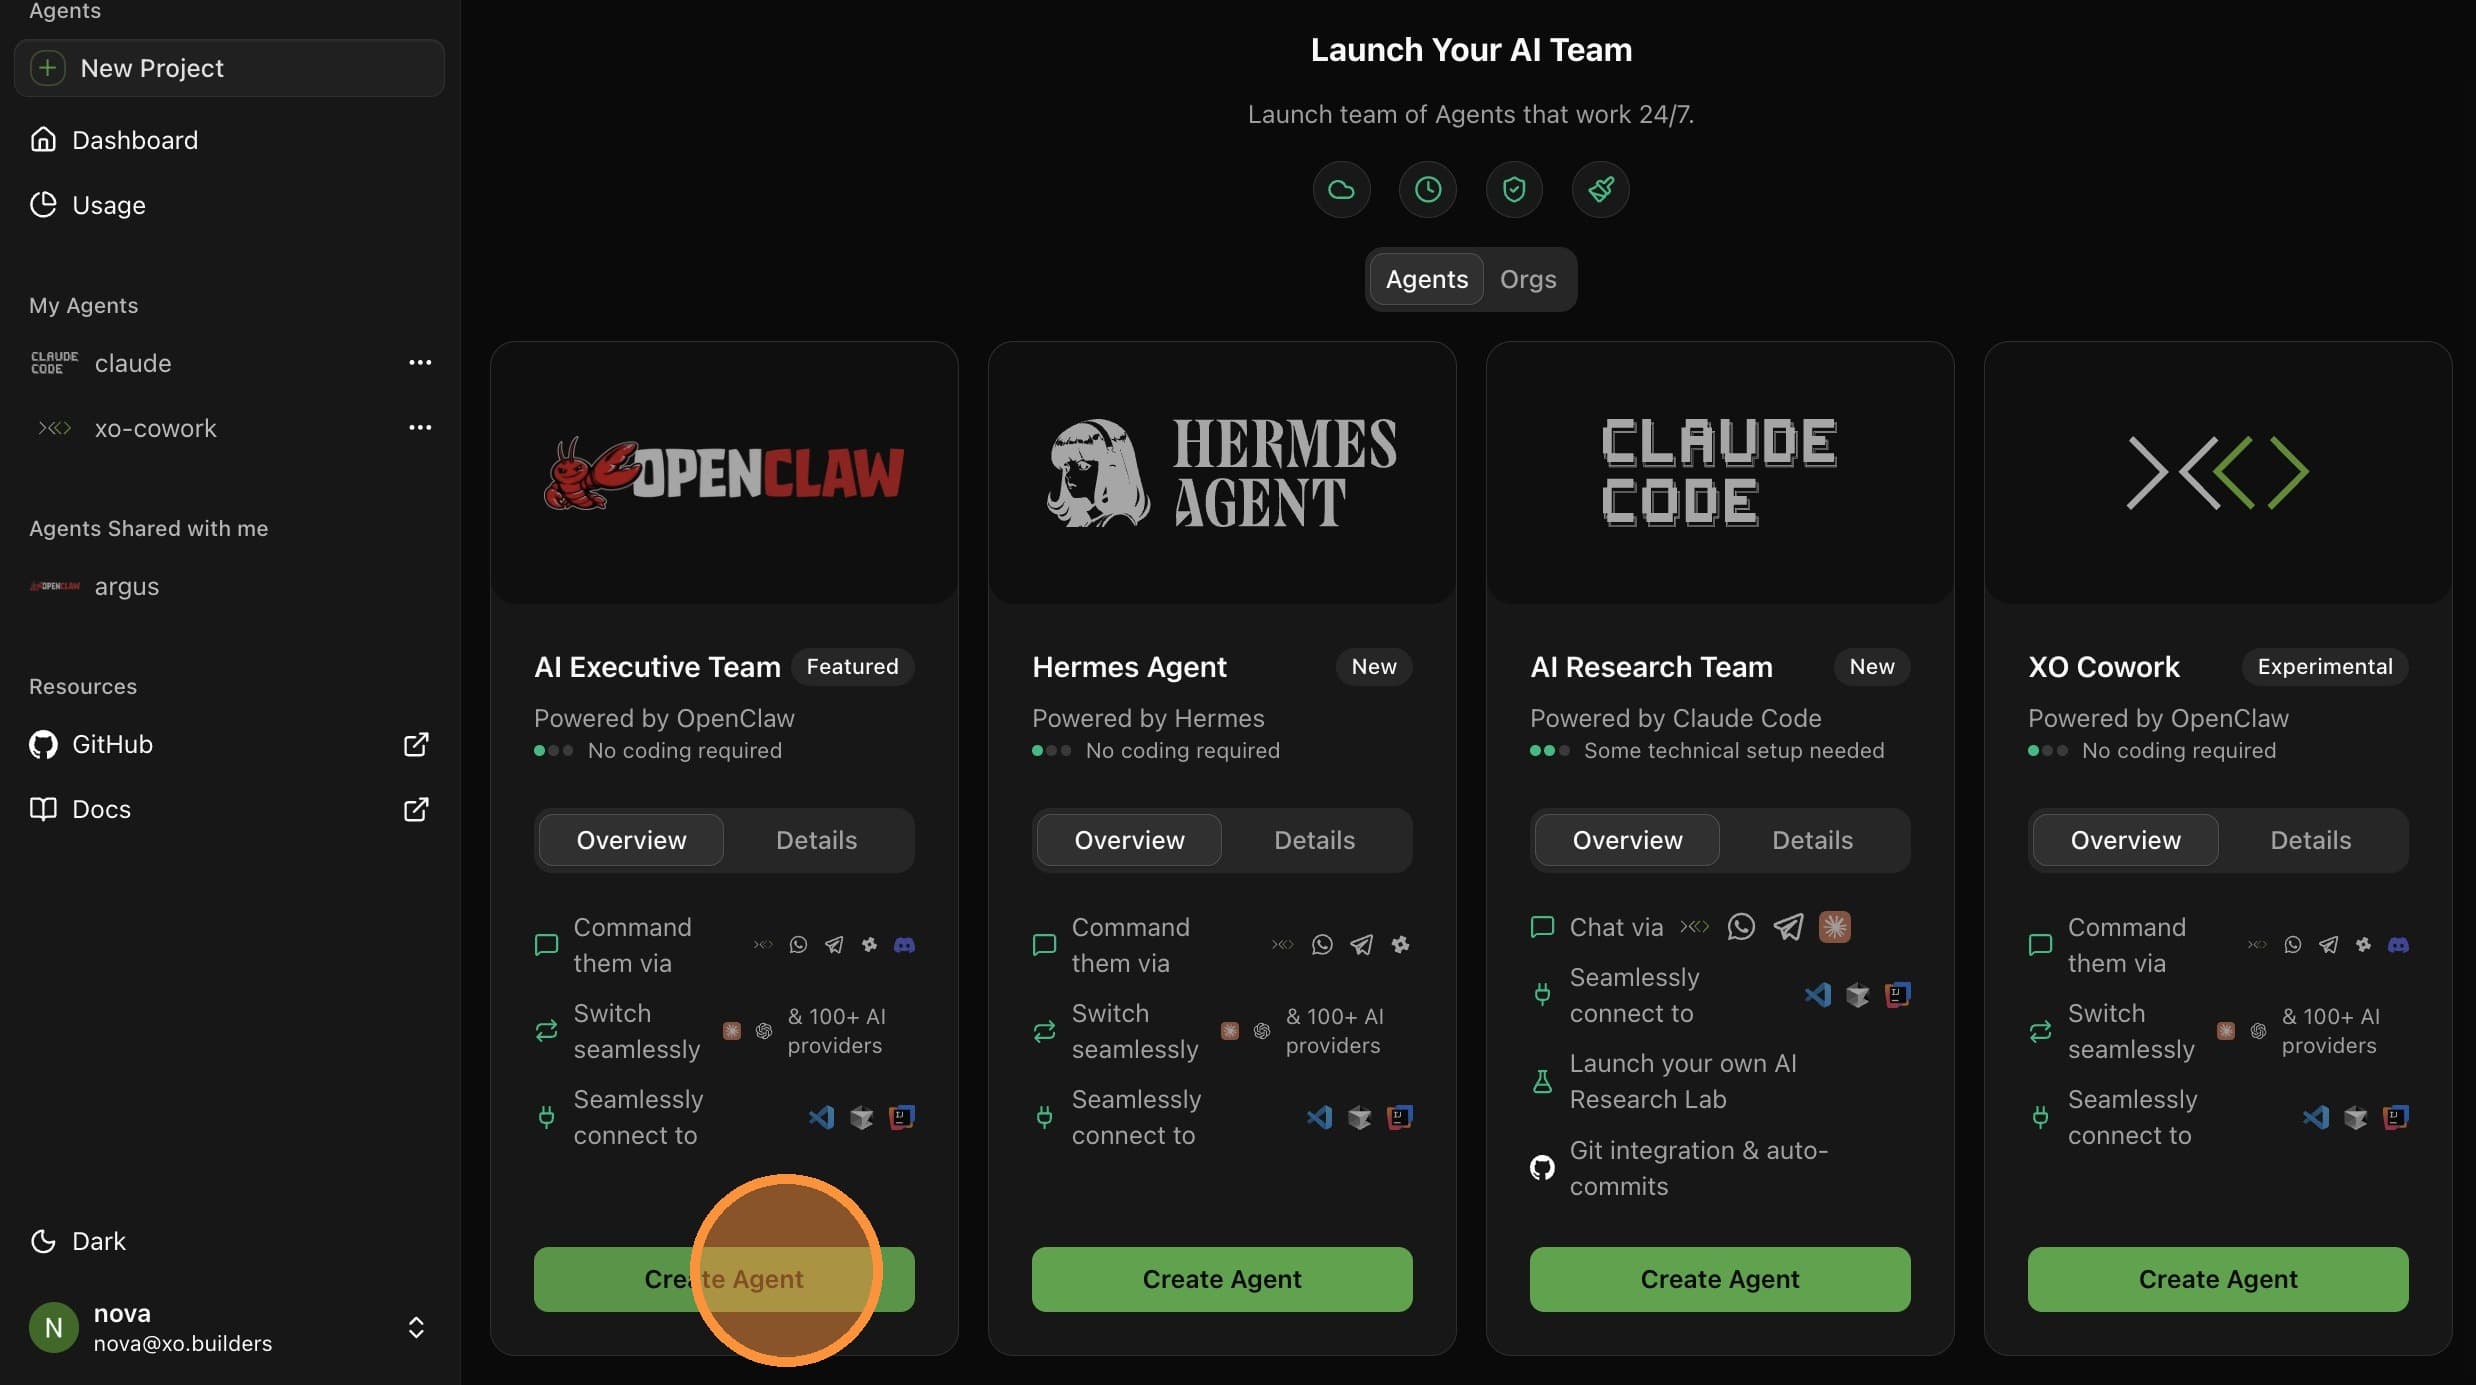
Select OpenClaw and click Create Agent.
Configure Project Details
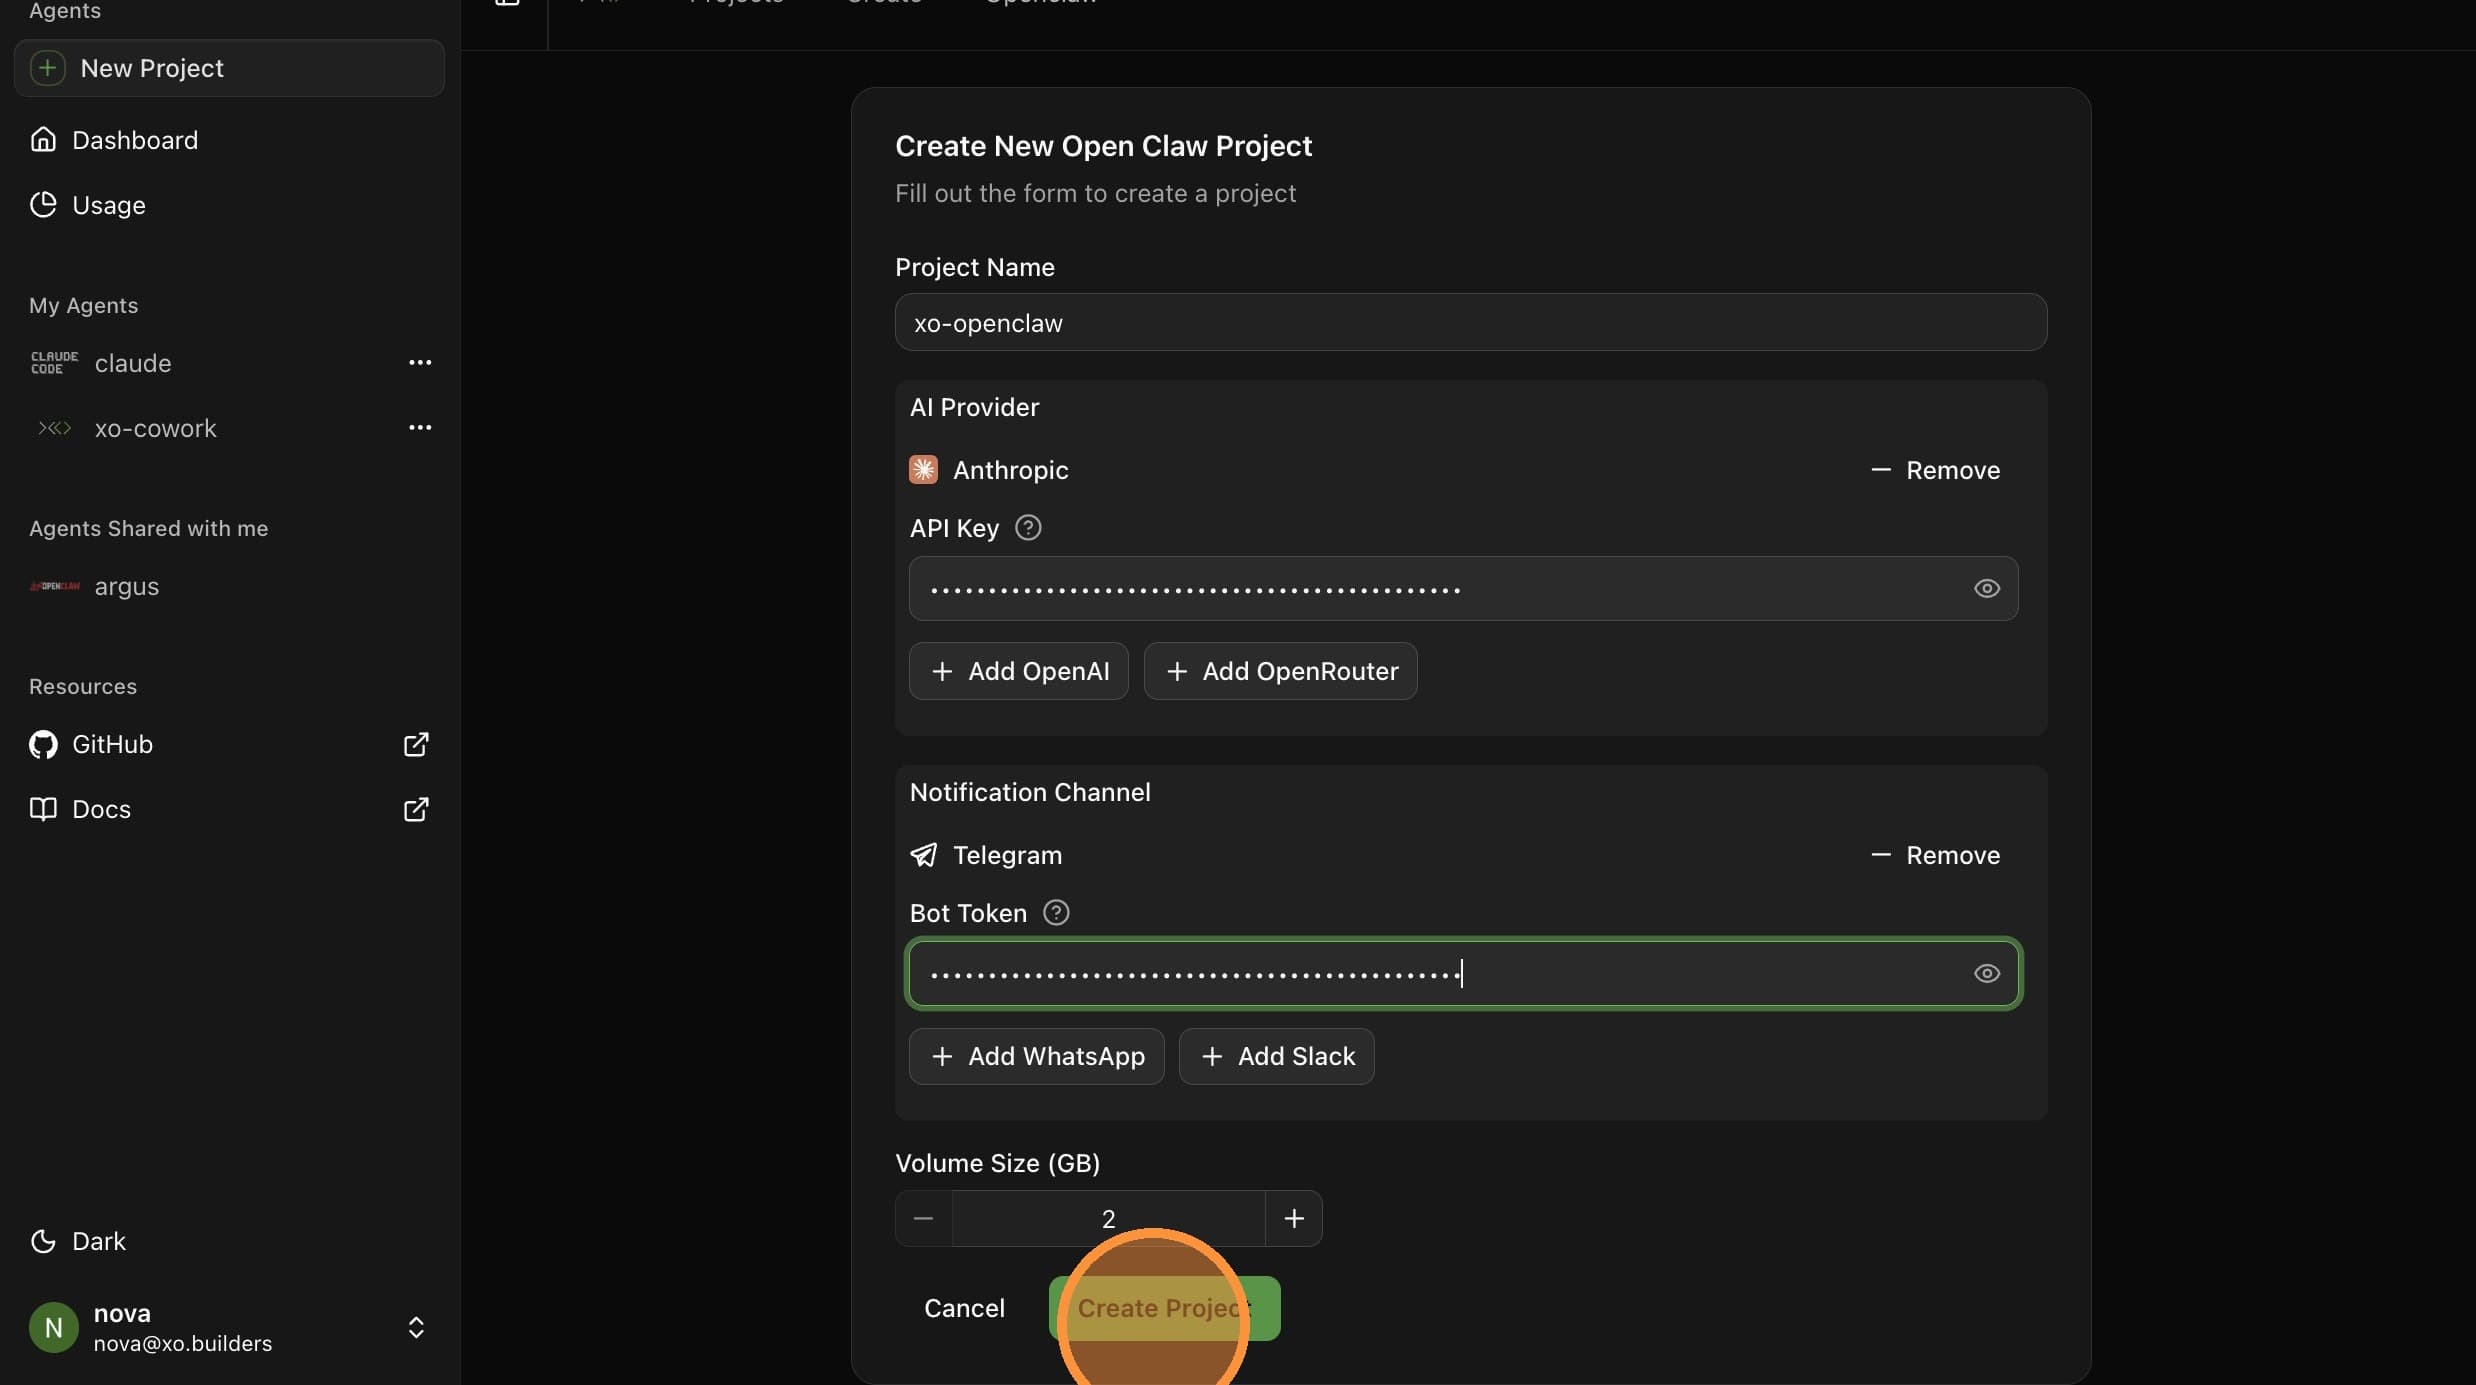
Fill in the project creation form:
| Field | Value |
|---|---|
| Project Name | A unique name — e.g. xo-openclaw (note this down, you'll need it later) |
| Anthropic API Key | Your Anthropic API key |
| OpenAI API Key | Your OpenAI API key |
| Telegram Bot Token | Your token from @BotFather |
| Scan the QR code shown in the form | |
| Slack | Your Slack app token and bot token |
| Volume Size | Default 2 GB is fine for most setups |
At least one provider (Anthropic or OpenAI) and at least one channel (Telegram, WhatsApp, or Slack) are required.
Click Create Project.
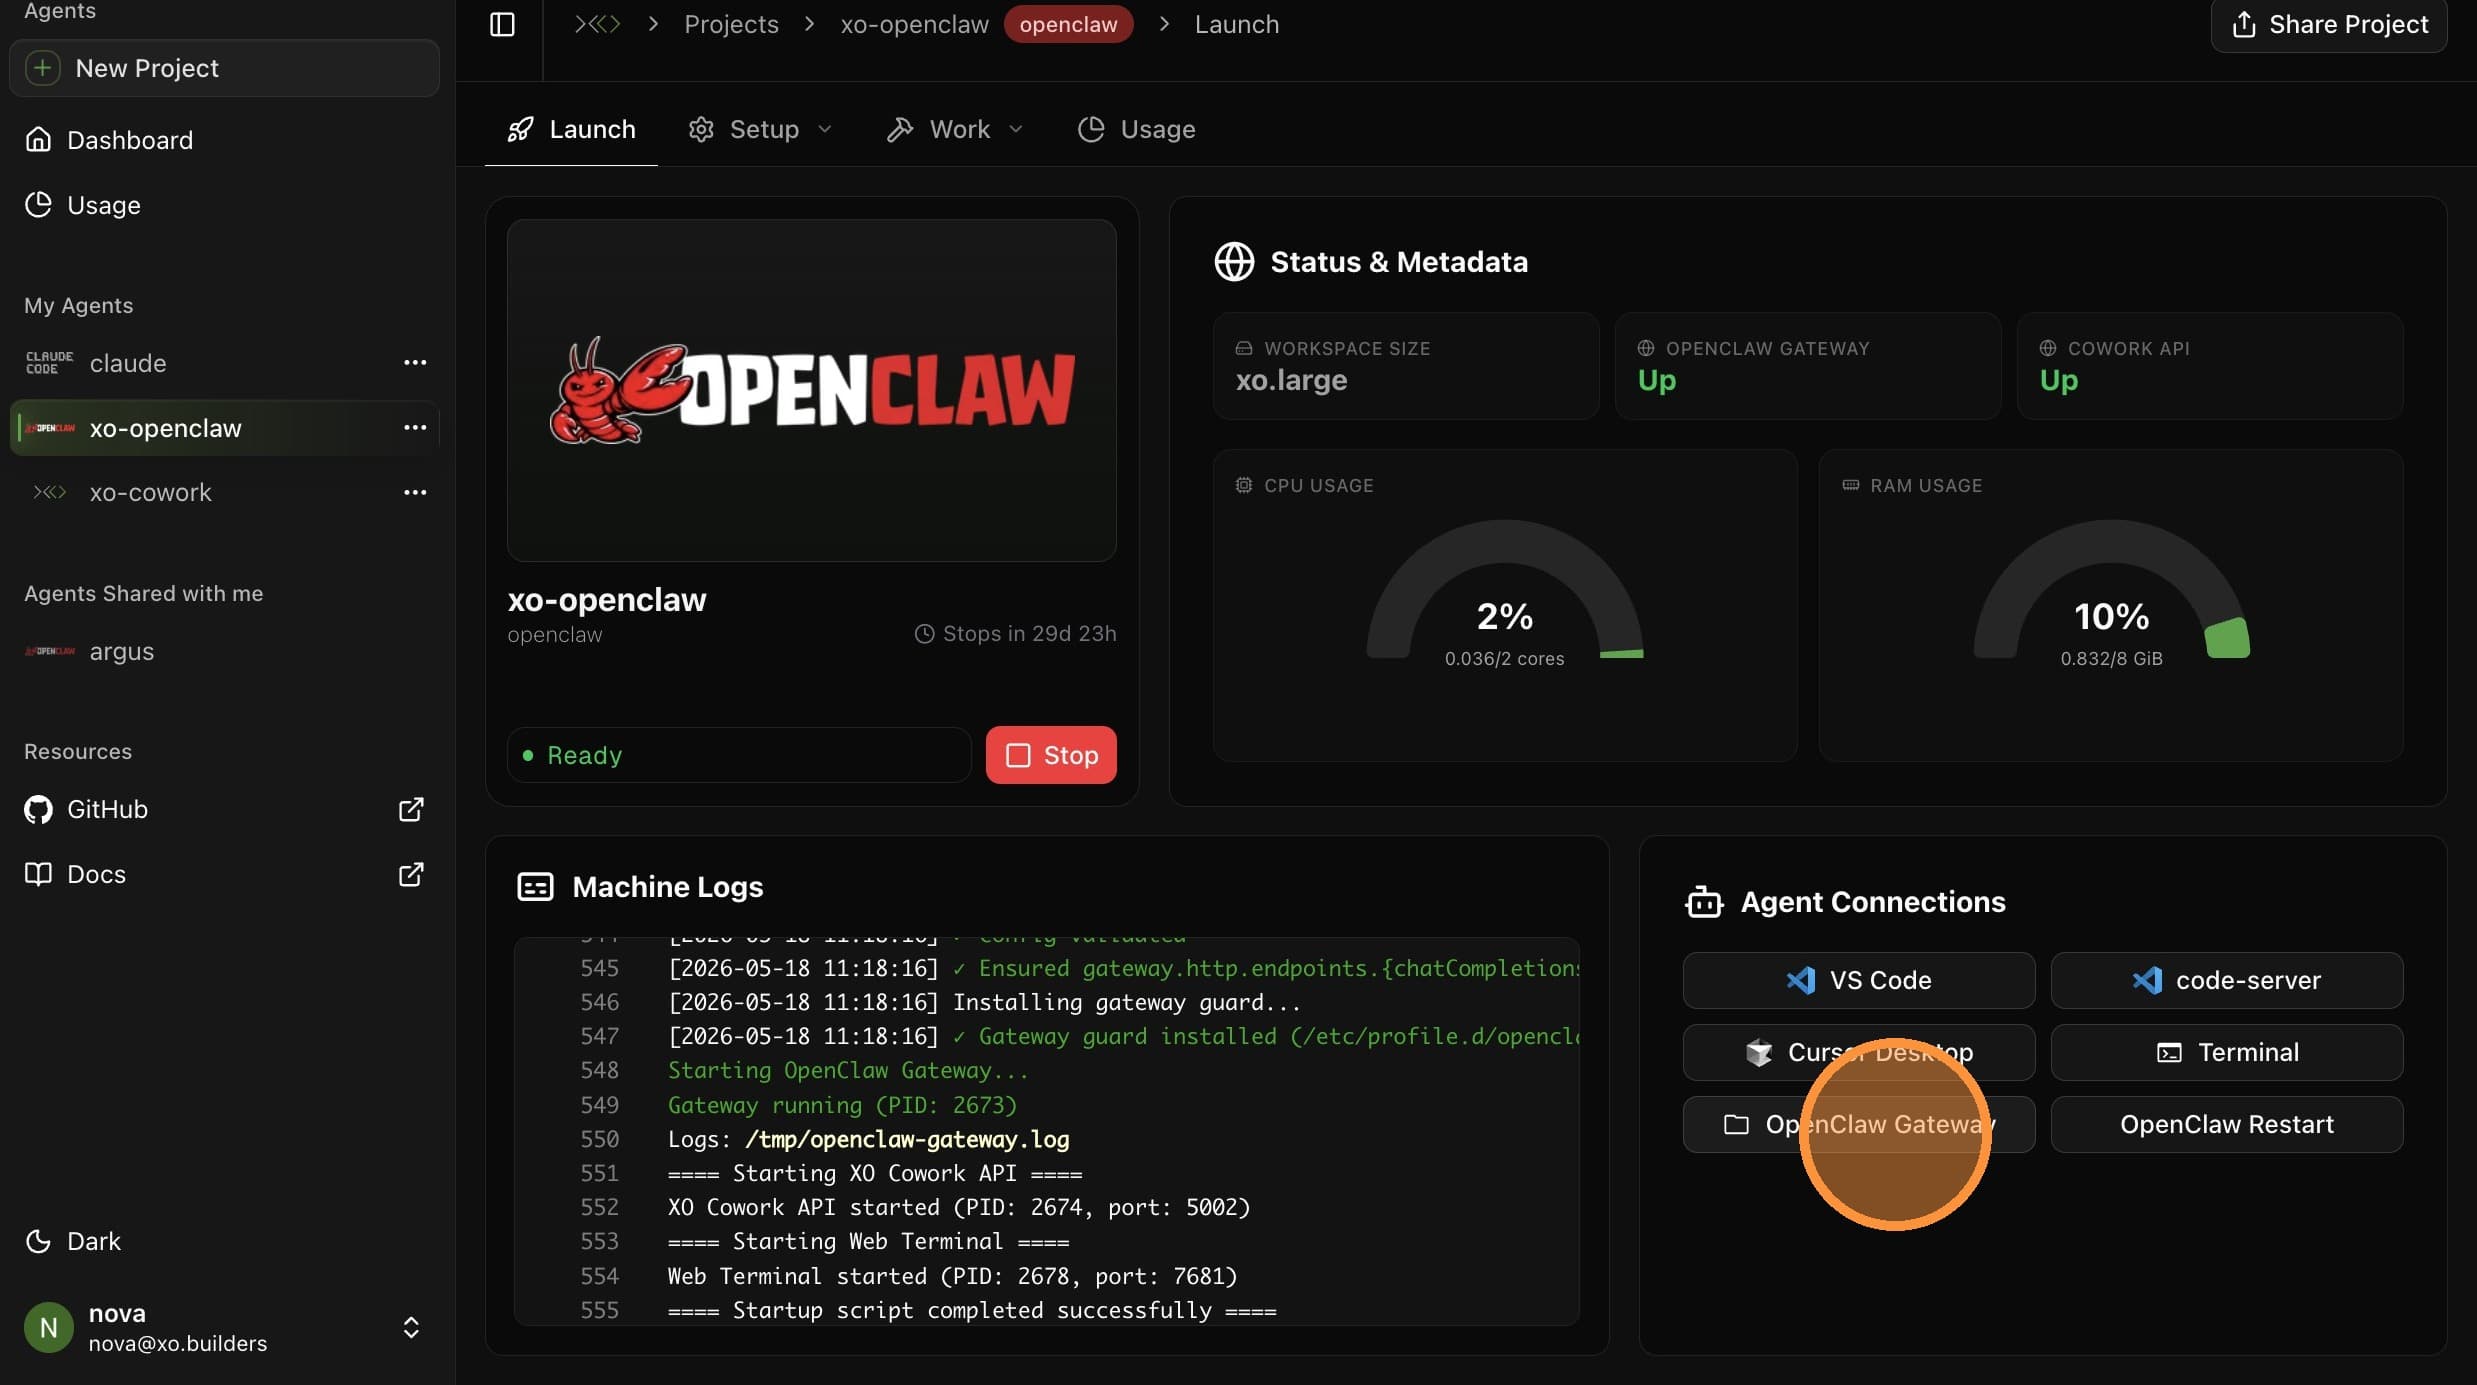
Wait for Startup
Your workspace takes about 5–6 minutes to provision.
The agent is ready when the OpenClaw Gateway status shows Up in the Workspace Details sidebar.
Verify Setup
Open the Overview tab and review the setup checklist. Confirm Model connected and save your Anthropic API key from the project page if it isn't already filled in.
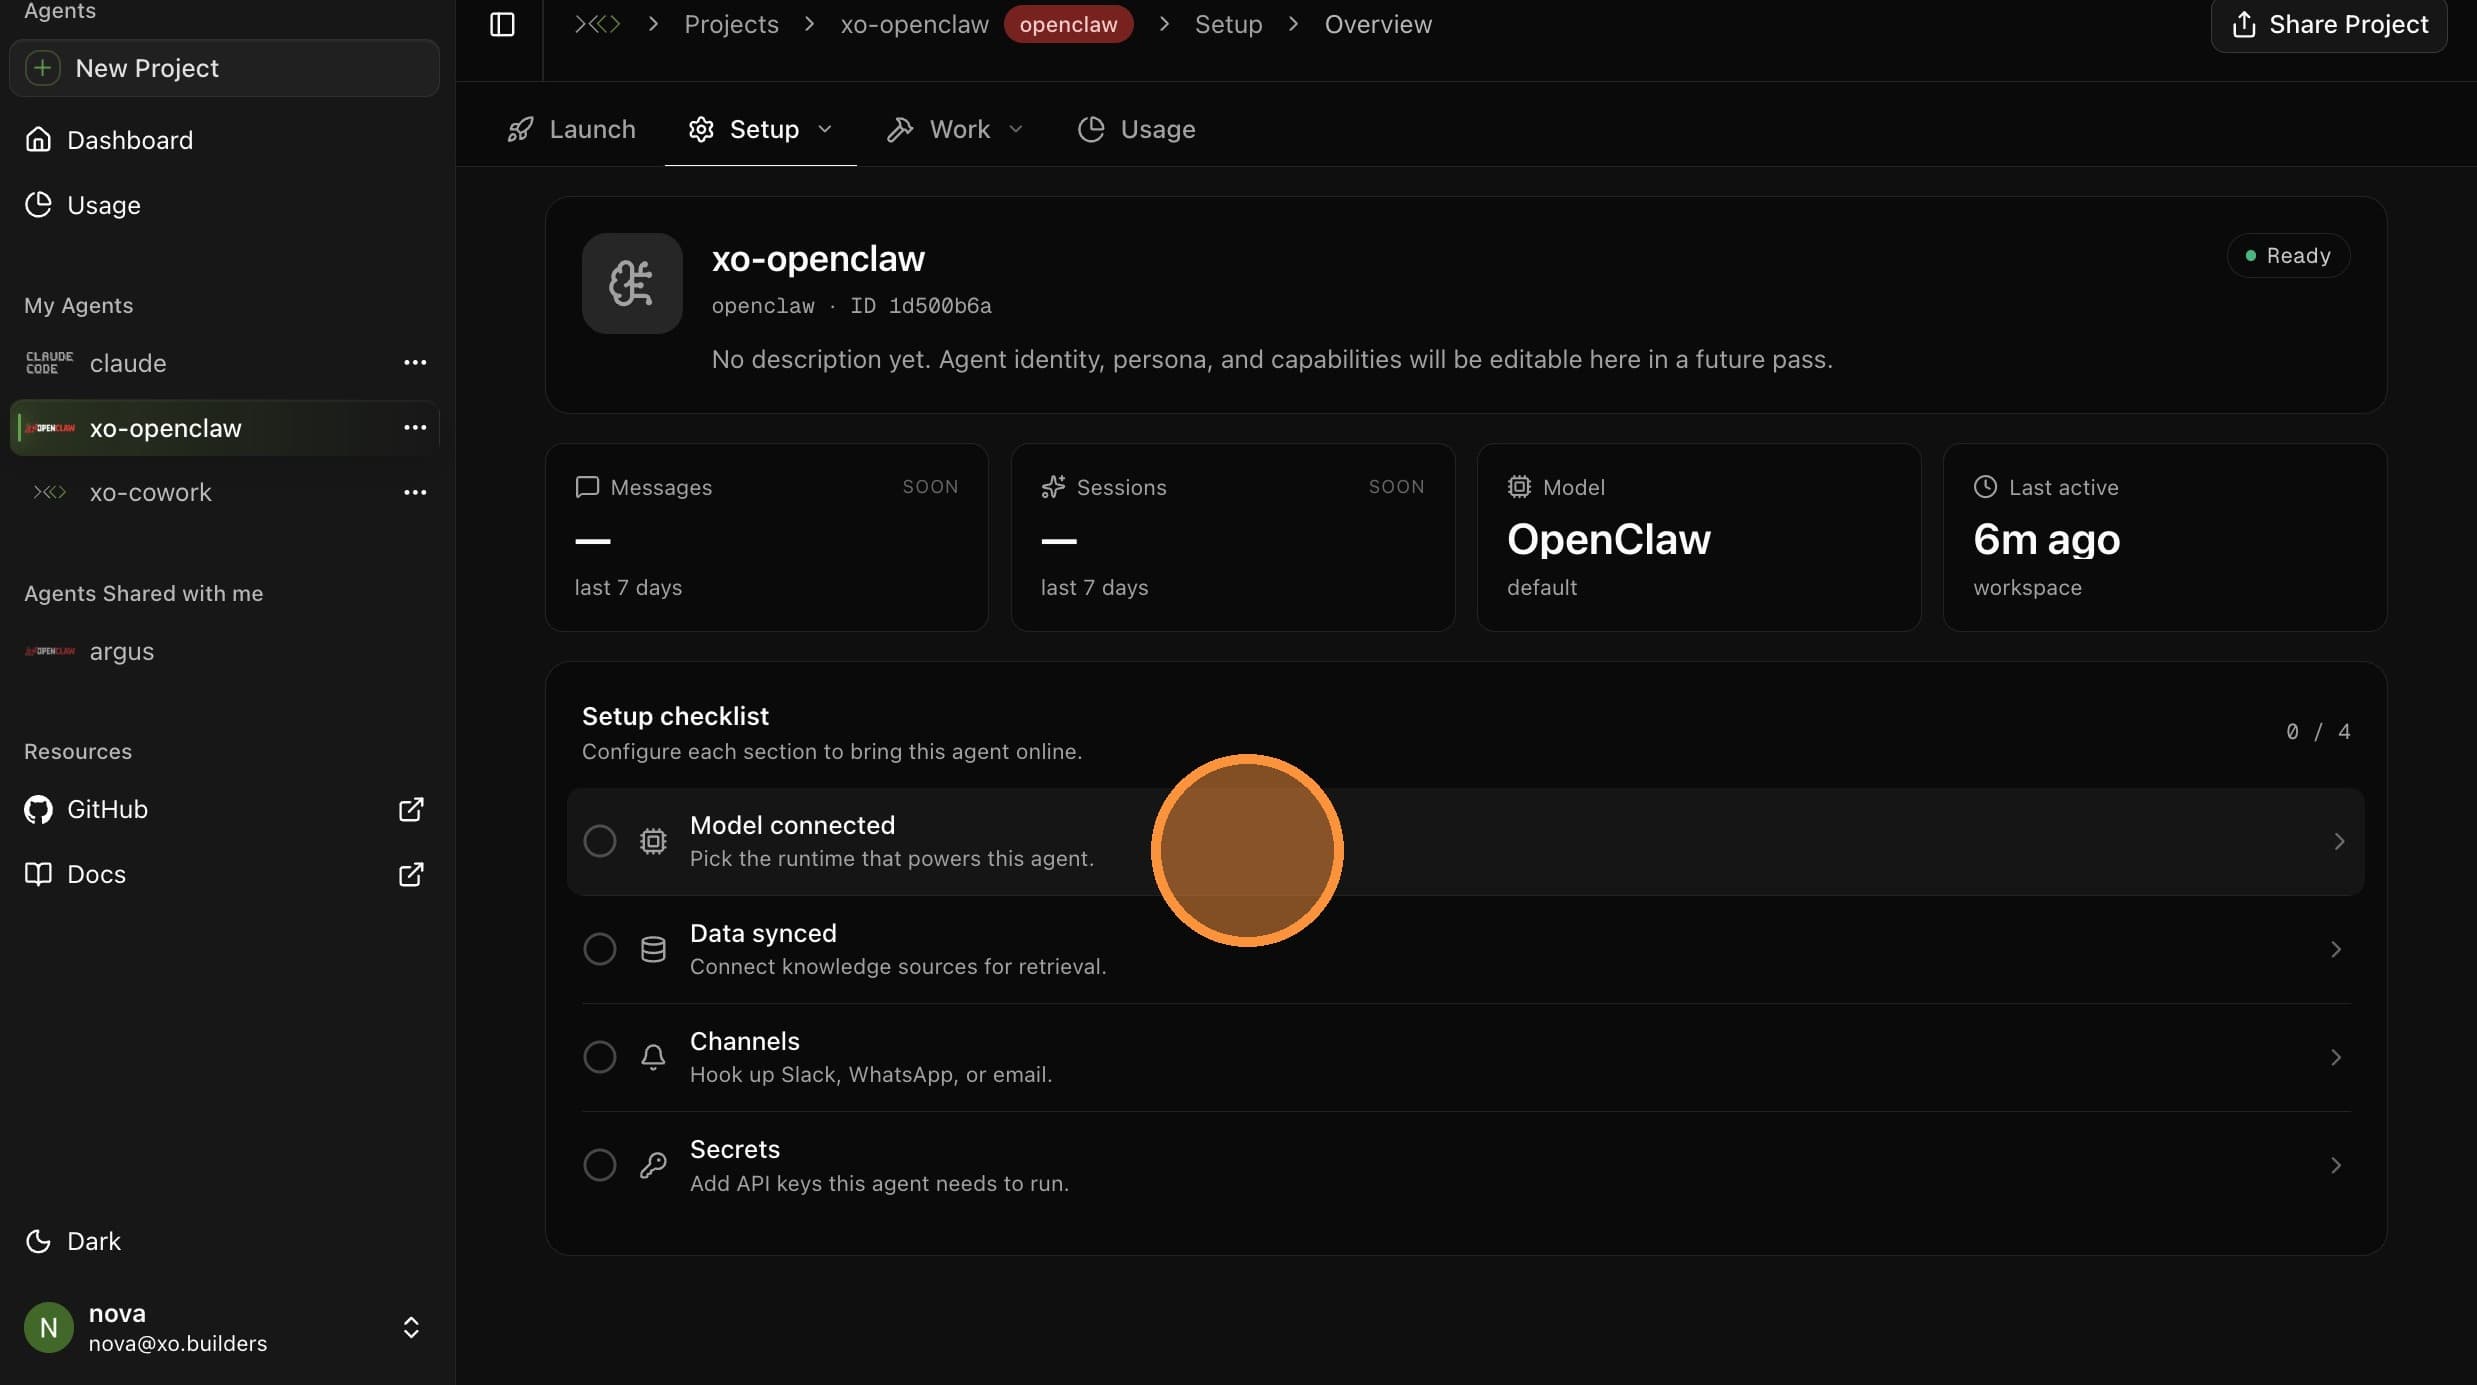
You can also adjust your agent's Data sources, Channels, and Secrets from the same top-nav. These are optional — the defaults from project creation will work.
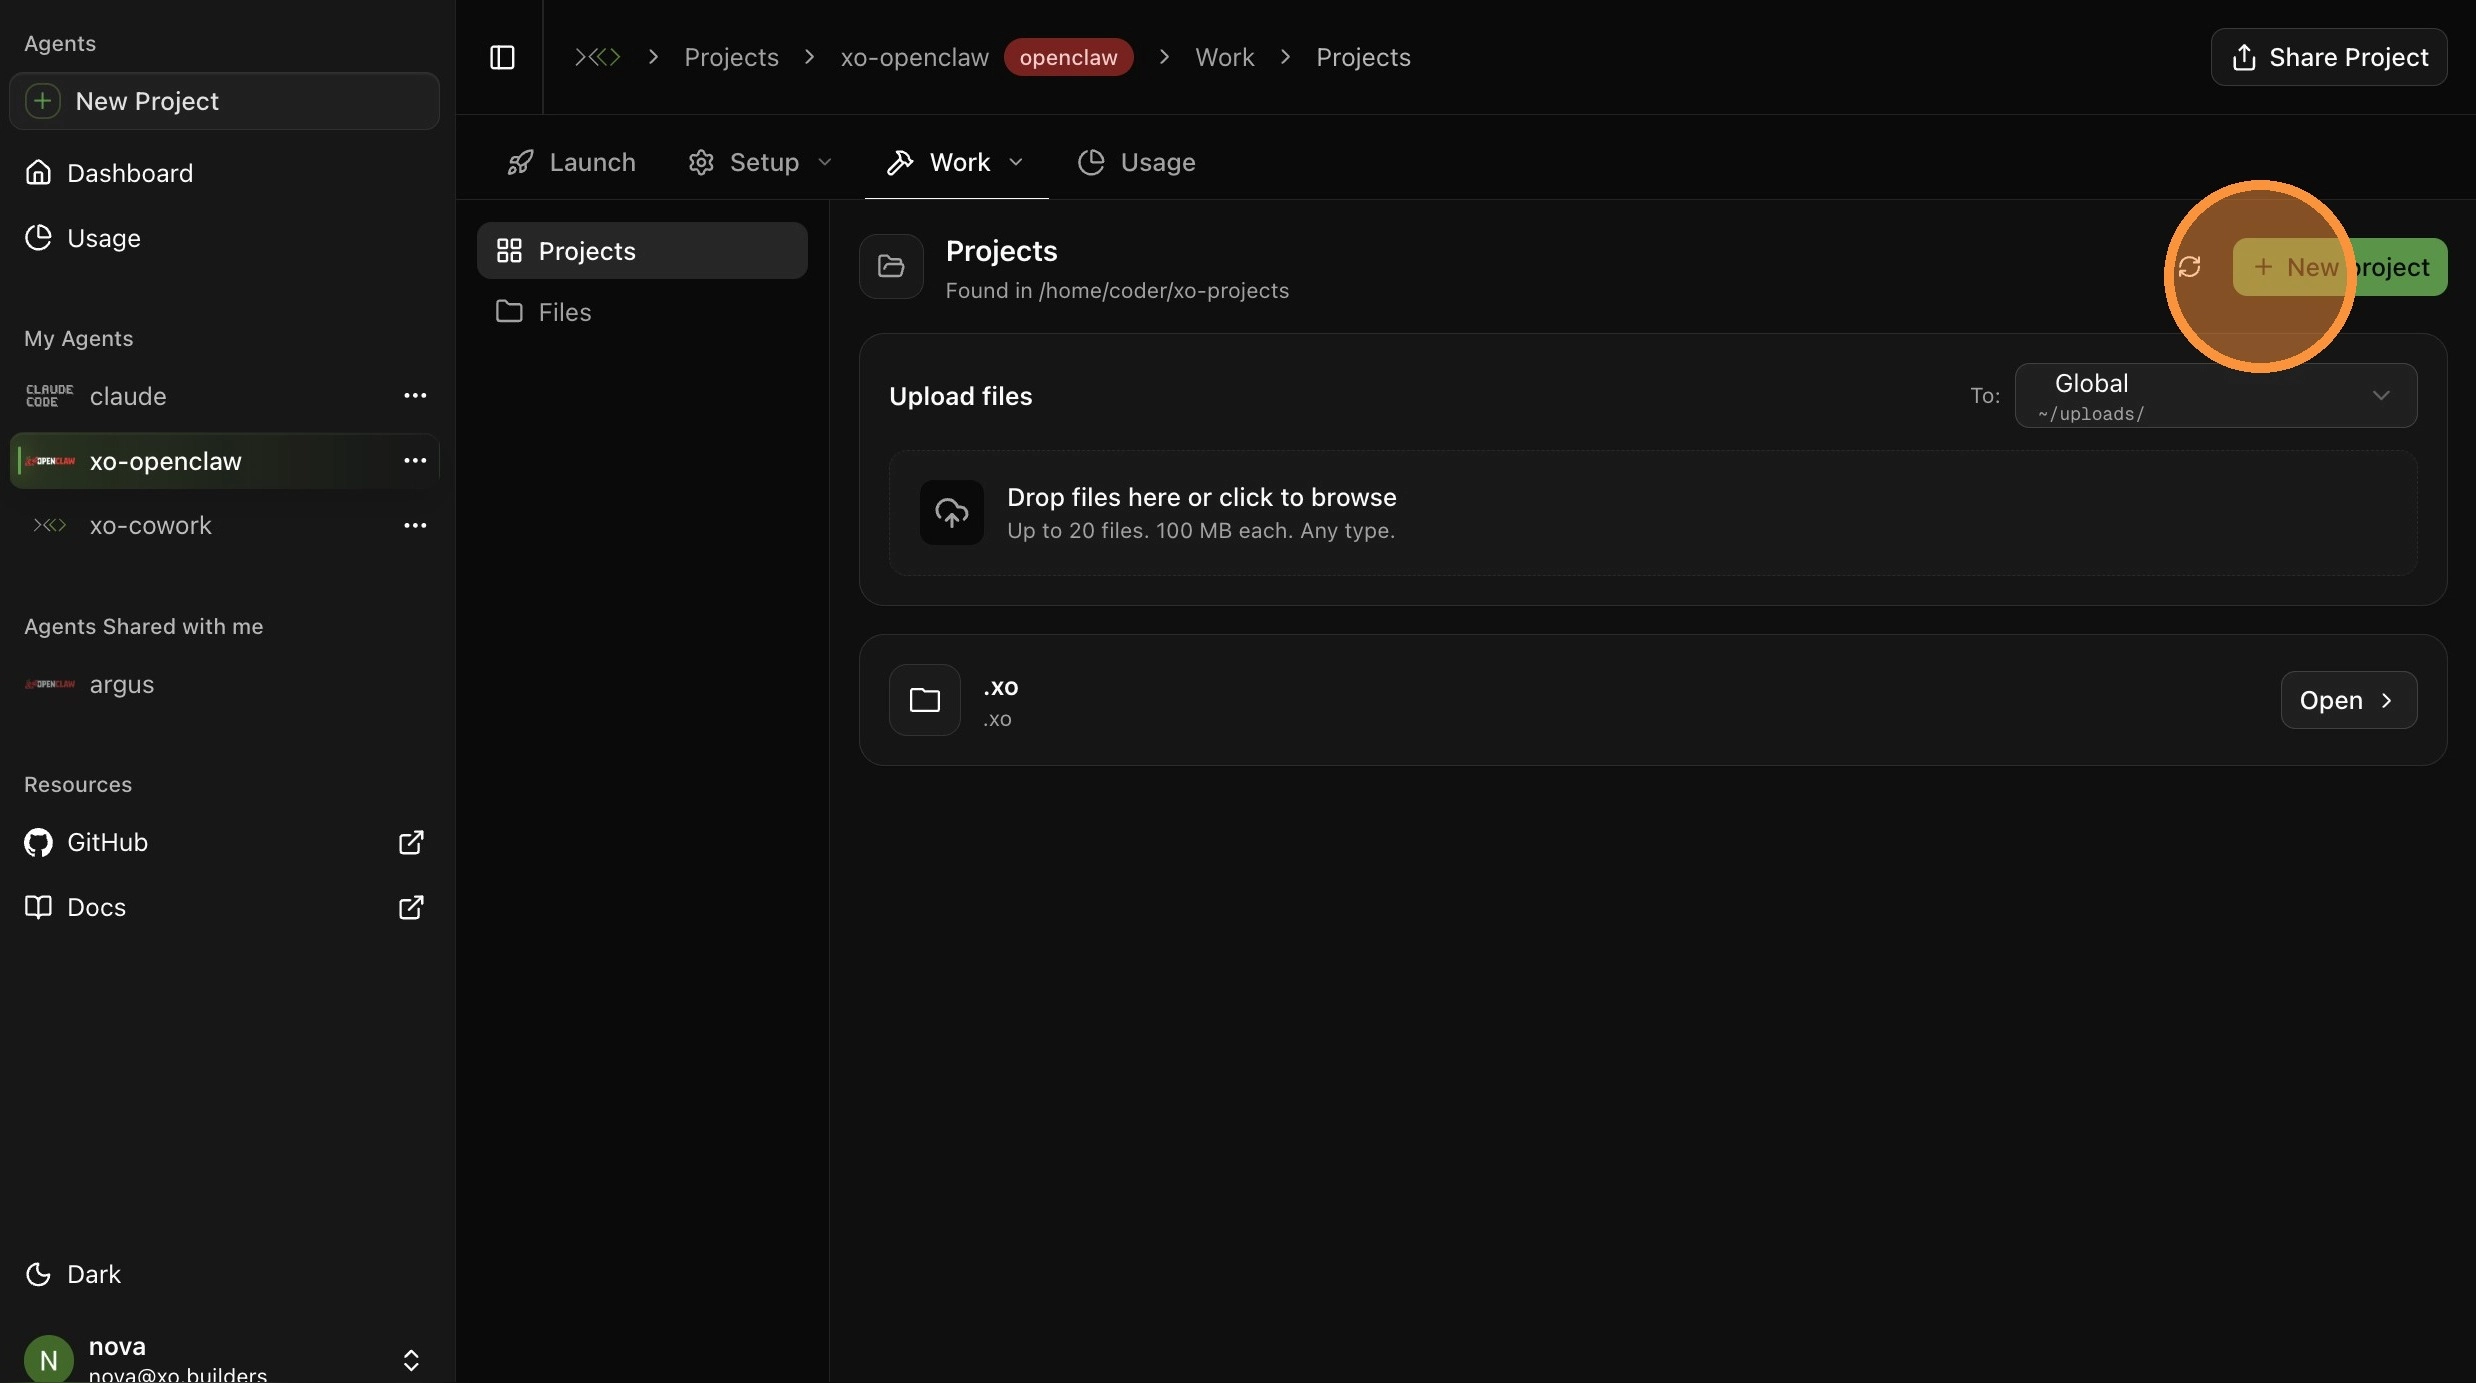
Set Up a Project Directory
Open the Projects tab and create a new project directory for your agent's work — e.g. marketing.
Connect Codex (Optional)
Prefer to use Codex via your ChatGPT subscription instead of an Anthropic API key? Open Setup → Models and click Connect ChatGPT to link your account via OAuth.
OAuth is only available after provisioning is complete. Wait for the workspace to finish starting up before clicking Connect ChatGPT.
See Connect Codex for the full OAuth walkthrough.
Open the OpenClaw Gateway
Open the Launch tab and select OpenClaw Gateway. This opens the OpenClaw Dashboard in a new tab.
Connect to the Gateway
In the Gateway Token field, enter the exact project name you used in Step 2 (e.g. xo-openclaw), then click Connect. The status indicator turns green (OK) when connected.

Test Your Agent
Navigate to the Chat tab in the sidebar. Send a message — try hello.
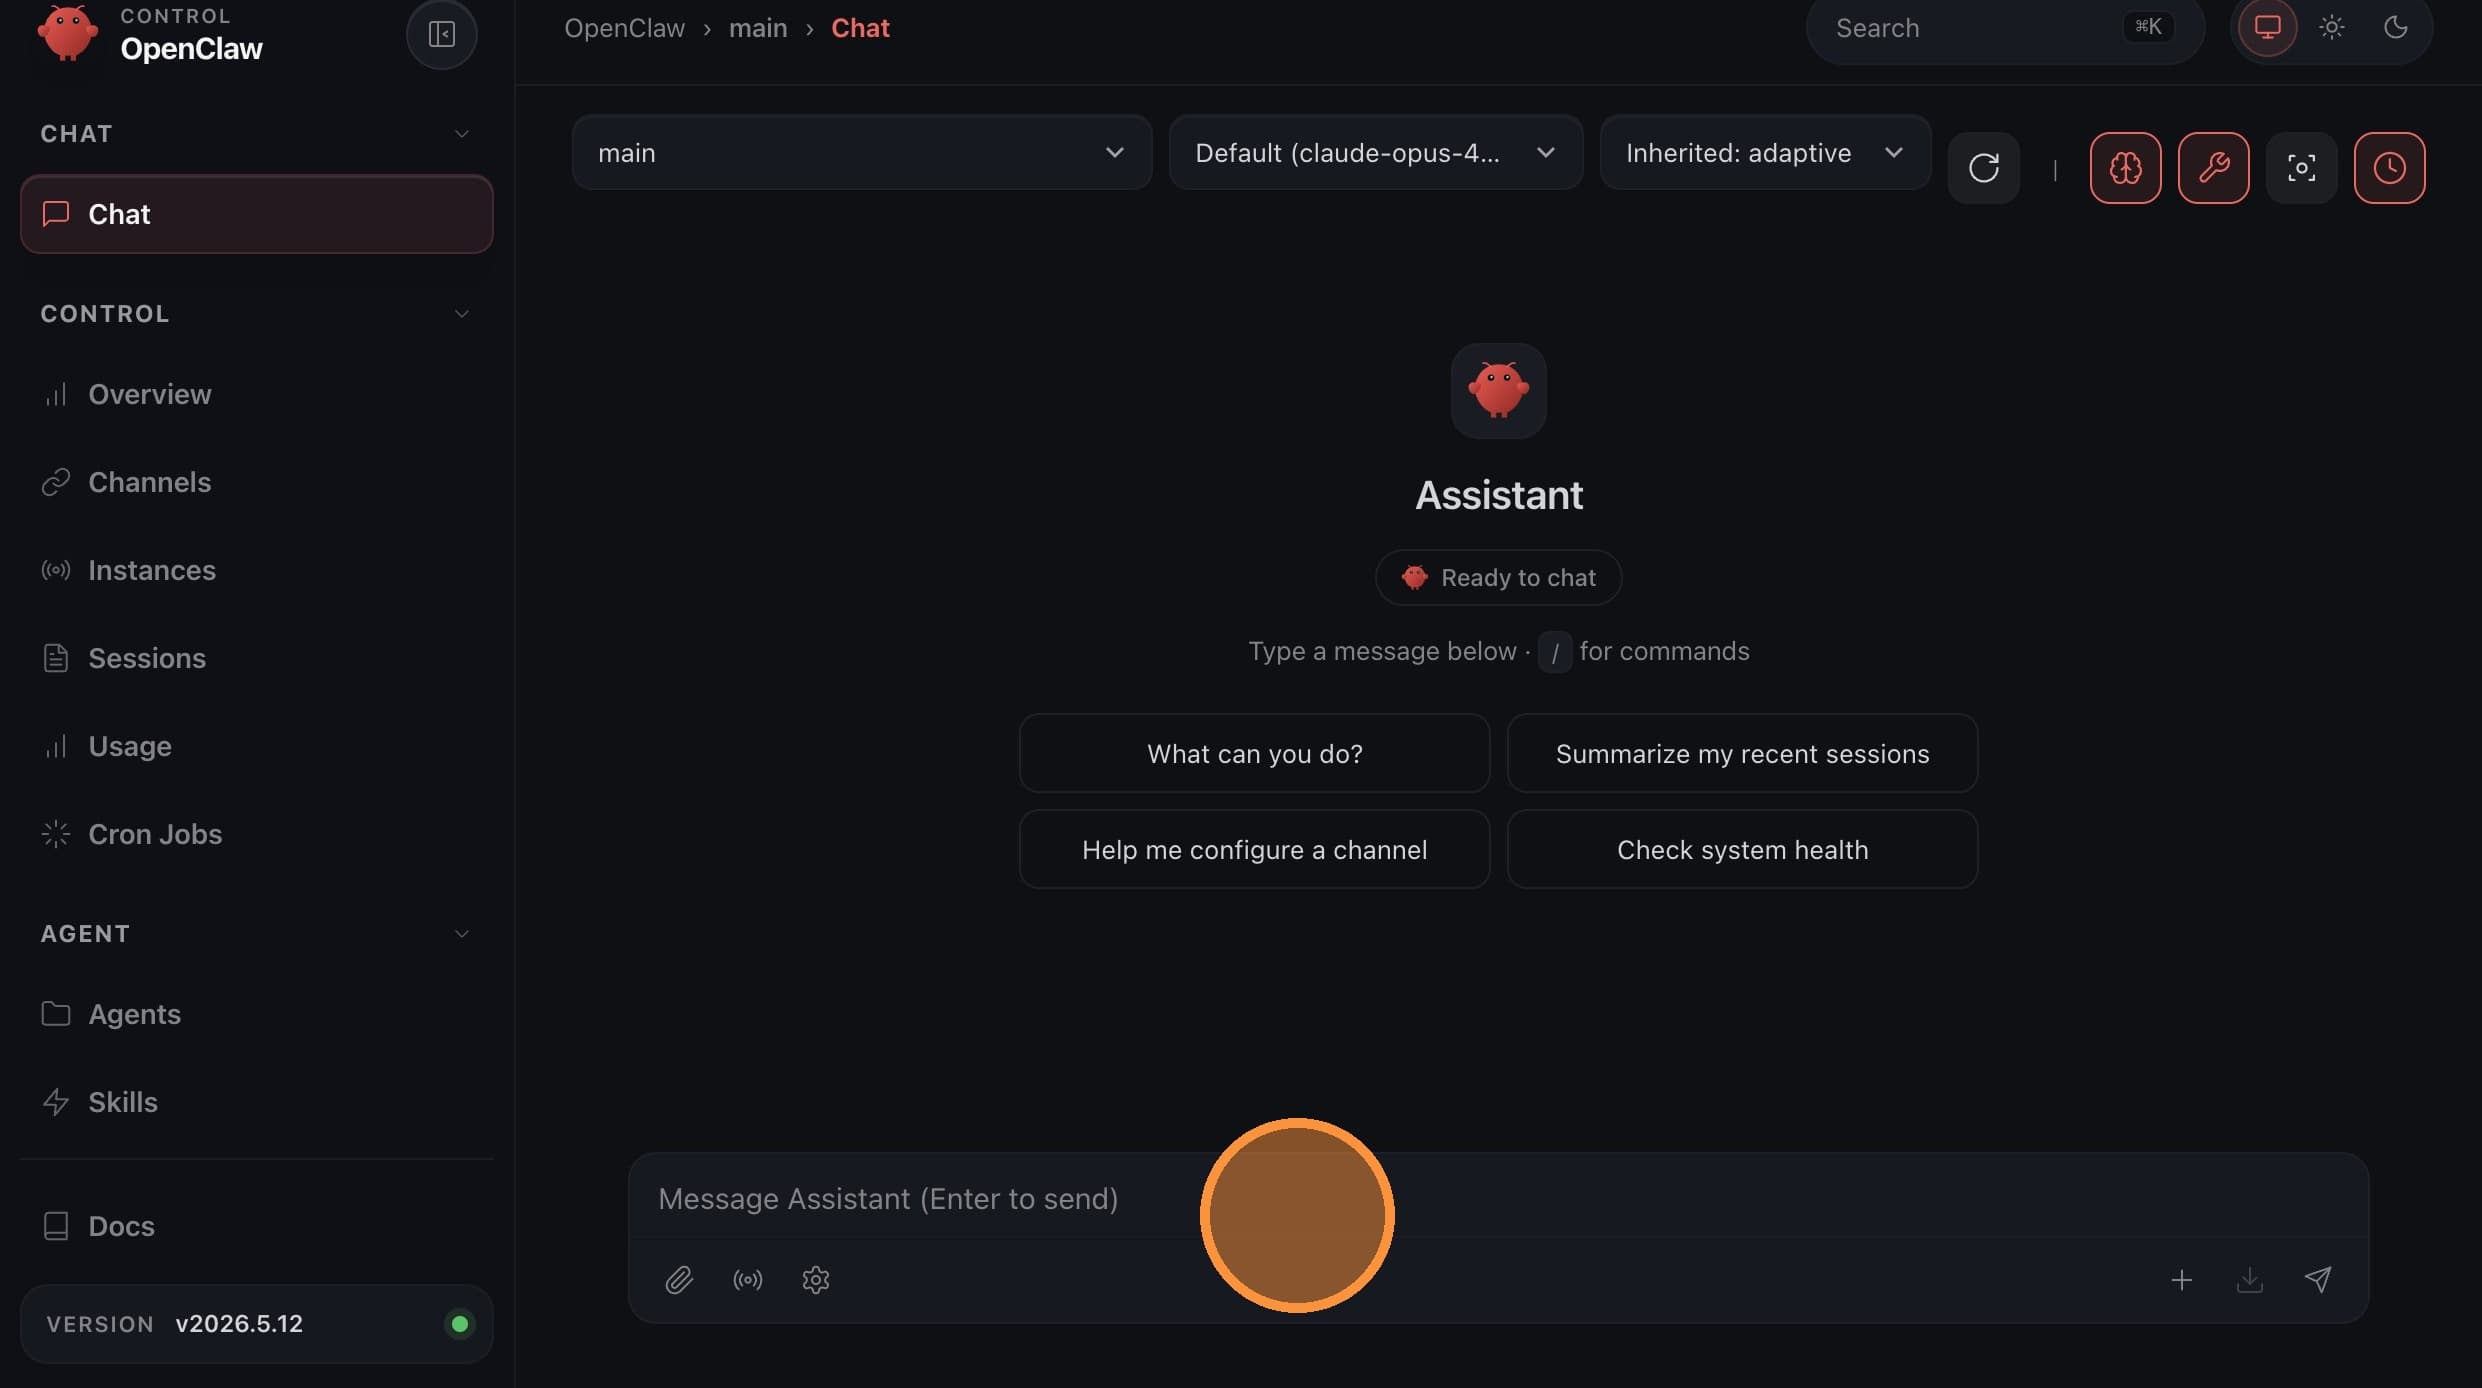
Your agent responds. OpenClaw is live.
The Gateway Token must exactly match your project name from Step 2. A mismatch will prevent the dashboard from connecting.
Troubleshooting
Running into issues? Check the Troubleshooting page for common fixes.
Next Steps
Your agent is live — now protect its state. Set up Backup & Restore to encrypt and version your agent folder with a single conversation.